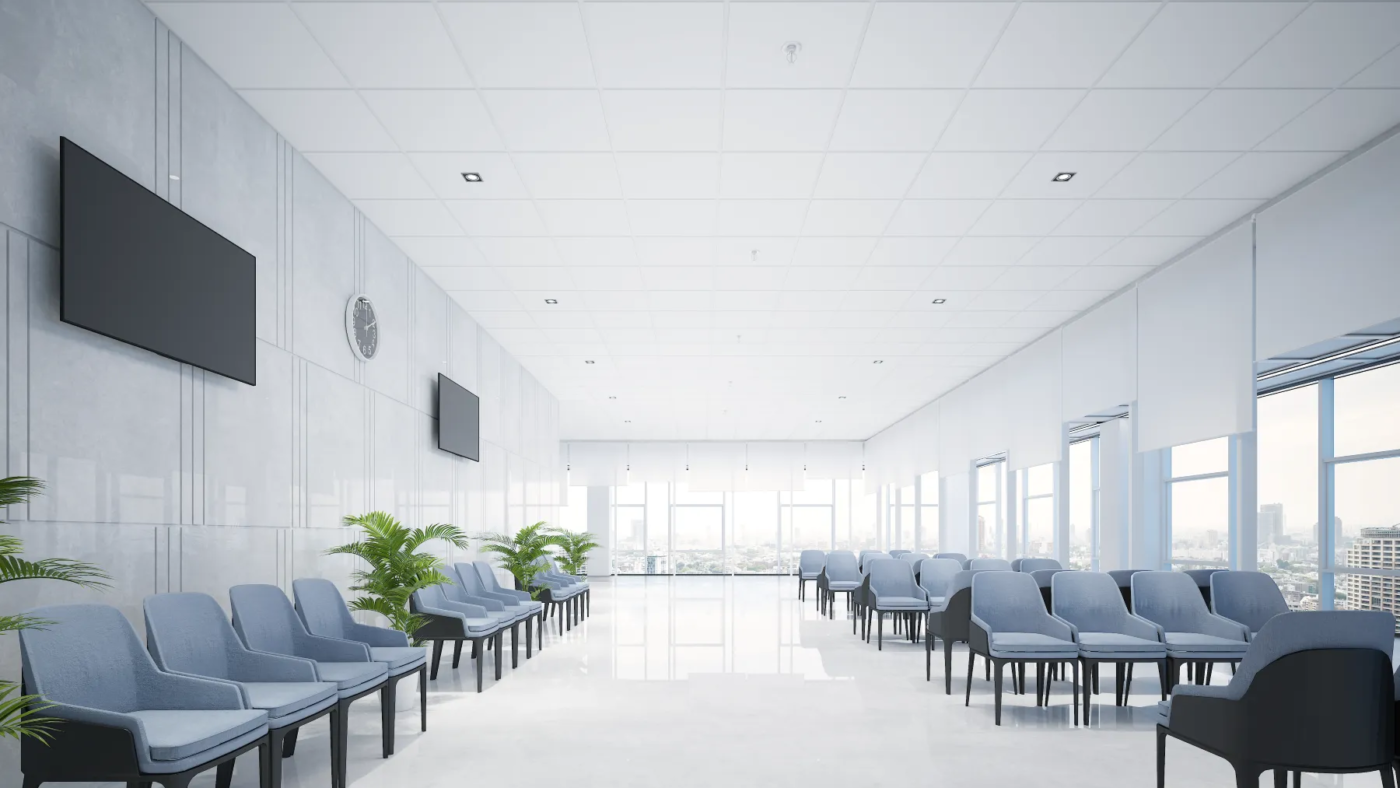
How to install a suspended ceiling
Erecting a suspended ceiling (also known as a drop ceiling or false ceiling) is a practical and aesthetic way to conceal wiring, ductwork, and piping, improve acoustics, and allow access to the infrastructure above.
Here’s a professional guide to doing it properly.
🧰 TOOLS & MATERIALS NEEDED
Tools:
- Tape measure
- Spirit level or laser level
- Chalk line
- Cordless drill/screwdriver
- Aviation snips or metal shears
- Utility knife
- Hammer
- Ladder or scaffold
- Stud finder (if fixing to timber or plasterboard)
- Wire cutters/pliers
Materials:
- Ceiling tiles (e.g., mineral fibre, PVC, metal, acoustic)
- Main tees (main runners)
- Cross tees (cross runners)
- Wall angles (perimeter trim)
- Hanger wire or threaded rod
- Anchors/fixings (toggle bolts, masonry anchors, screws)
- Eye lag screws or suspension clips
📏 PLANNING & DESIGN
- Measure the Room:
- Get the exact dimensions of the room (length × width).
- Sketch a layout with the ceiling tile grid (typically 600mm × 600mm or 600mm × 1200mm in the UK).
- Determine Drop Height:
- Minimum drop is usually 3-4 inches (~75-100 mm), but more may be required for ducting or lighting.
- Ensure enough space above the ceiling tiles to lift them into place and remove them when needed.
- Mark Level Line:
- Use a laser level or water level to draw a level line around the perimeter where the wall angle will be fixed.
🔧 INSTALLATION STEPS
1. Install Wall Angle (Perimeter Trim)
- Fix to the wall along the marked level line using appropriate anchors or plugs/screws.
- Use a mitre cut for corners if desired (optional, for clean finish).
2. Hang Suspension Wires or Rods
- Mark the layout for main tees (usually every 1200 mm).
- Drill into the ceiling or joists and fix eye screws or anchors.
- Suspend hanger wire or threaded rods down to the desired level.
- Use a spirit level to make sure they all hang at the same height.
Pro tip: Wrap the wire securely and twist 3 times minimum around itself after looping through the eye.
3. Install Main Tees (Main Runners)
- Snap them into the wall angle and suspend from the wire.
- Ensure all are perfectly level using your laser/spirit level.
- Main tees are typically installed every 1200 mm (or 4 feet in imperial sizing).
4. Install Cross Tees (Grid Formation)
- Connect cross tees perpendicular to main tees to create the grid.
- Most tiles are 600mm × 600mm or 600mm × 1200mm, so cross tees go every 600 mm.
5. Add Additional Hangers if Needed
- Add extra suspension points if there’s any sag in the grid or for heavy light fittings or HVAC diffusers.
6. Install Ceiling Tiles
- Lift tiles diagonally through the grid and drop into place.
- Cut edge tiles to fit with a utility knife.
- Use a straightedge or ceiling tile cutter for clean cuts.
⚠️ PROFESSIONAL TIPS
- Lighting & Accessories: Fit lighting panels and air vents into the grid, ensuring they’re supported independently if too heavy.
- Access Panels: Include removable panels for access to services if needed.
- Fire Safety: Check fire rating requirements for your building type. Some ceilings need fire-rated tiles or barriers.
- Sound Insulation: Consider acoustic-rated tiles and insulation batts above if sound control is a goal.
✅ KNOWLEDGE TO MASTER
- Understanding grid layout: How to evenly space tiles with symmetry for best visual results.
- Load calculations: How to support heavier fittings with direct suspension rather than relying on the grid.
- Building codes: Local regulations around fire safety, ceiling heights, and commercial fit-outs.
- Working with uneven ceilings or walls: Learn to use packers or furring channels for adjustment.
📌 COMMON PITFALLS TO AVOID
- Not squaring the grid: Double-check that your first row is perfectly square or everything else will be off.
- Insufficient suspension: Don’t just rely on wall trim, hang every main tee properly.
- Over-tightened grid: Allow for a little flex to avoid stress cracking or tiles popping out.
- Forgetting services: Coordinate with electricians, HVAC, and fire suppression before sealing off areas.
🧑🔧 OPTIONAL ADD-ONS
- Acoustic insulation or sound batts above tiles
- Flush-fit LED panels
- Decorative tiles (e.g., patterned PVC or tin tiles)
- Moisture-resistant tiles for bathrooms/kitchens

 Cart is empty